Advanced
Drag-and-Drop Events
Drag-and-drop event system allows you to customize the process of drag-and-drop and adjust it to your needs.
Copying with drag-and-drop
Basically, drag-and-drop of component items means that you remove an item from one component and place it to the other one. Still if needed, you can copy items with drag-and-drop by actually leaving a dragged item in the source component and making its copy in the target one.
For these needs, we refer to the onBeforeDrop event and associate a copying function with it. Also, we make use of the source and from properties of the drag-and-drop context object:
gridb.attachEvent("onBeforeDrop", function(context, ev){
    for (var i=0; i< context.source.length; i++){
        context.from.copy(context.source[i],context.index,this,webix.uid());
    }
    return false;
});
Here we copy each item (that is dragged) from the source object with the help of the dedicated function. It takes the following arguments:
- context.source[i] - the ID of the copied object;
- context.index - the index of the copy;
- this - the object that an item is copied to (since the function is attached to gridb, this refers to it)
- webix.uid() - the ID of the copy-item, here it's generated automatically with the tool for getting a unique (in frames of a session) ID.
Displaying Titles of Dragged Items
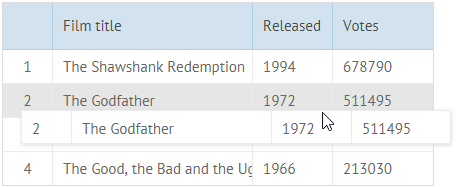
In case of Datatable, the whole rows can be dragged to other components as well as moved between datatable instances.
By default, the whole row is displayed while being dragged, which is not always convenient and pleasant to see. Sometimes, it would be enough to display the value of the main column during drag-and-drop. The same thing is also actual for DataView and List - the components that feature several Template values in each item.
Here, the onBeforeDrag event is needed, as the functionality should be enabled as soon as we hook the necessary item. Also, as above, we take the source and from properties from the drag-and-drop context object.
grida.attachEvent("onBeforeDrag", function(context, ev){
    context.html = "<div style='padding:8px;'>";
    for (var i=0; i< context.source.length; i++){
        context.html += context.from.getItem(context.source[i]).title + "<br>" ;
    }
    context.html += "</div>";
});
Here we create a div container for the drag-and-drop context item and define an 8px padding for it. Then, with each of the dragged items from the source we take the title value from the dataset and close the div container.
Related sample: Using Events for Customizing Drag-and-Drop
Tracking Start and End of DnD
Whenever drag-n-drop is started or finished, the global onDragMode event is called with one parameter - the signal, "start" or "end". The event can be useful to get the drag context, e.g.
webix.attachEvent("onDragMode",function(signal){
    webix.message(signal + " of dnd");
    var context = webix.DragControl.getContext();
    // ... your code here
});
Related Articles
- Defining Drag Area - learn how to set a dragging handle to a component item;
- Defining Drag Marker - how to set a drag-and-drop message and mark by color the dropping area;
- Drag-and-Drop with Tree and TreeTable Components - how to observe hierarchy during drag-and-drop;
- Drag-and-Drop Between Different Components - how to use the externalData property while dragging an item from one component to another;