How-tos
You can read about general customization rules in the corresponding article.
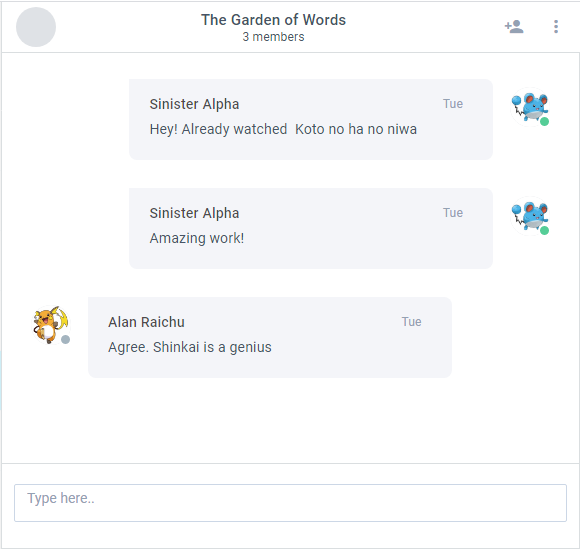
Styling Message Boxes
You can provide custom styles and templates for message boxes, e.g.:
Create a new custom class by inheriting it from the default chat.views["messages"]:
class CustomMessages extends chat.views["messages"] {
  config() {
    let ui = super.config();
    // the second row is a 'comments' widget
    let messages = ui.rows[1];
  }
}
Applying custom styles
You can apply your custom styles to the component via the css property of the component. Make sure to define css class before setting it to the component:
class CustomMessages extends chat.views["messages"] {
  config() {
    // ...
    // set a custom css class for the 'comments' widget
    messages.css = "messages-list";
  }
}
Custom templates
Messages in Chat are based on the comments widget so you can define a template for them via the listItem property.
class CustomMessages extends chat.views["messages"] {
  config() {
    // ...
    // define a new template for items
    messages.listItem.template = (obj, common) => {
      let message;
      let avatar = common.templateAvatar(obj, common);
      // ...
      if (obj.user_id === this.app.config.user) {
        message = `<div class='message'>${user}${menu}${date}${text}</div>${avatar}`;
      }
      return message;
  }

  return ui; // returning styled ui
}
Do not forget to override the default class with the new one for the changes to take effect:
webix.ui({
  view: "chat",
  override: new Map([
    [chat.views["messages"], CustomMessages]
  ]),
  // other properties
})
Related sample: Chat: Styling Messages
Date Formatting
Date formats are stored in the Helpers service. To change them, define a new class by inheriting it from the default chat.services.Helpers. Inside its constructor provide desired templates:
class MyHelpers extends chat.services.Helpers {
  constructor() {
    super();
    //date formats
    this.dateMask = "%d/%m/%Y"; // the format for today's messages
    this.weekMask = "%D"; // week's messages
    this.todayDateMask = "%h:%i %A"; // other messages
  }
}
Do not forget to override the default class:
webix.ui({
  view: "chat",
  override: new Map([
    [chat.services.Helpers, MyHelpers]
  ]),
  // other properties
})
Related sample: Chat: Date Formatting
Custom Toolbar Content

To add custom content to the toolbar, take the following steps:
1. Create a new class by inheriting it from the default chat.views["messages/toolbar"].
2. Redefine the TitleTemplate method so that it returns the desired content:
class CustomToolbar extends chat.views["messages/toolbar"] {
  TitleTemplate(chat) {
    var helpers = this.app.getService("helpers");
    // getting avatar
    var result = helpers.listAvatar(chat, "webix_chat_toolbar_avatar");
    return (
      result +
      `
      <div class='webix_chat_title'>
          <div class="webix_chat_messages_groupchat_name">${chat.name}</div>
          <div class="webix_chat_messages_groupchat_members">
            Custom content here
          </div>
      </div>`
    );
  }
}
3. Do not forget to override the default class:
webix.ui({
  view: "chat",
  override: new Map([
    [chat.views["messages/toolbar"], CustomToolbar],
  ]),
  // other properties
});
Related sample: Chat: Custom Toolbar Content
Moving the "Add members" Option to the Menu
To move the option to the menu, take the following steps:
1. Create a new class by inheriting it from the default chat.views["messages/toolbar"].
2. Inside the config method remove the corresponding icon from the toolbar.
class CustomToolbar extends chat.views["messages/toolbar"] {
  // remove "Add members" icon button
  config() {
    let ui = super.config();
    let elements = ui.elements;
    elements.splice(elements.length - 2, 1);
    return ui;
  }
  // ...
}
3. Add a new option to the array of options inside the GetMenuData method:
class CustomToolbar extends chat.views["messages/toolbar"] {
  // ...
  //  add "Add members" menu option
  GetMenuData() {
    // getting original array of options
    let data = super.GetMenuData();
    const _ = this.app.getService("locale")._;
    data.push({ id: "addMembers", value: _("Add members") });
    return data;
  }
}
4. Adjust the InitMenu method to call the "Add members" handler upon clicking the option:
class CustomToolbar extends chat.views["messages/toolbar"] {
  //  call "Add members" handler on menu item click
  InitMenu() {
    const menu = super.InitMenu();
    menu.attachEvent("onItemClick", id => {
      if (id == "addMembers")
        this.app.callEvent("newMembers", [this.State.chatId]);
    });
  }
}
5. Do not forget to override the default class:
webix.ui({
  view: "chat",
  override: new Map([
    [chat.views["messages/toolbar"], CustomToolbar],
  ]),
  // other properties
});
Related sample: Chat: Adding Menu Option
Specifying Custom File Size Limit
By default Chat can process and send images that do not exceed 10Mb in size. You can reduce this value.
1. Create a custom class by inheriting it from the default chat.services.Upload.
2. Inside its constructor() method provide a desired value (in bytes) for the this.maxFileSize property:
class CustomLimit extends chat.services.Upload {
  constructor(app) {
    super(app);
    // 5Mb
    this.maxFileSize = 5000000;   }
}
3. Do not forget to override the default service:
webix.ui({
  view: "chat",
  files: true,
  override: new Map([     [chat.services.Upload, CustomLimit]   ])
});
Related sample: Chat: Custom Size Limit for Upload
If you want to increase the limit above 10Mb, you will also need to adjust your backend code.